The University of Massachusetts Amherst
Categories
Operating System

How to use Audacity to Edit Photos

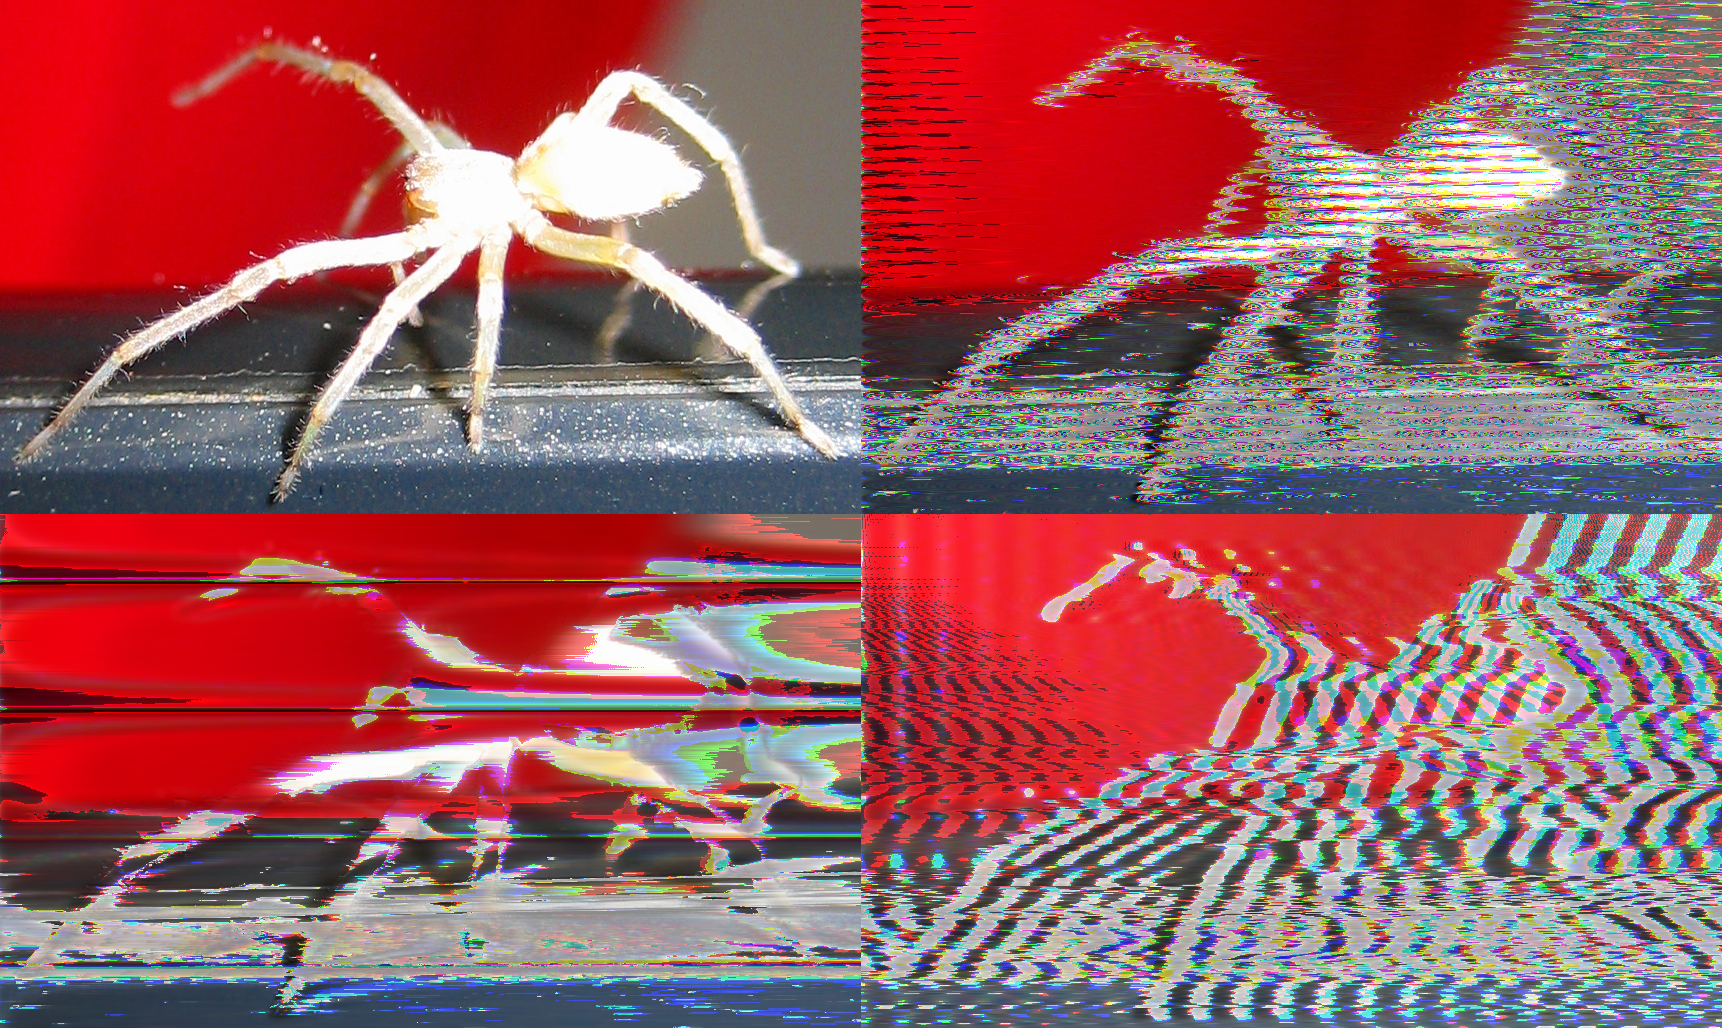
https://orig00.deviantart.net/8c42/f/2013/007/9/8/glitch_art_spider_by_qubodup-d5qqdkl.png
Photo: qubodup on DeviantArt

Glitch art is an increasingly popular form of art that uses digital interference or glitches to make interesting art. In this tutorial I will be showing you how to use Audacity to edit photos as if they are sound, which can create some cool effects.

Here’s what you need:

  • Adobe Photoshop (I use the CC version so your experience may vary.)
  • Audacity (free at Audacity.com)
  • A picture

The first step is to open the image in Photoshop. Go to File> Open > Your_file. After opening, we need to save this file as a format that Audacity can understand. We will use the .tiff format. So go to File>Save As Then go to .tiff next to “Save as type”. See the below photo for an example of how this should look:

Displaying Capture2.PNG

Then Photoshop will ask you about the settings for the .tiff file. Leave everything as it is except “Pixel Order” change it to Per Channel. Per channel splits up where the color data for the photo is stored, allowing us to edit individual parts of the RGB spectrum. See below photo again:

Displaying Capture.PNG

Once the file is saved as a .tiff file, open up Audacity and click File>Import Raw Data then select your .tiff file. Once this is complete Audacity will ask for some settings to import the raw data. Change “encoding” to “U-Law” and “Byte Order” to “Little-endian” then click import. See photo of how it should look below:

Displaying Capture3.PNG

You now have your image in Audacity as a sound file! Here is where the creativity comes in. To glitch up the image, use the effect tab in Audacity and play around with different effects. Most images have a part in the beginning of the file that is needed to open the image so if you get an error trying to open the picture don’t worry; just don’t start the effect so close to the beginning next time. There should also be some noticeable sections in the waveform — these represent the different RGB colors. So if you only select one color, you can make an effect only happen to one color. Once you finish your effects, it’s time to export.

To export go to File>Export. When prompted set the file type to “Other uncompressed files”. See photo of how it should look below:

Displaying Capture.5PNG.PNG

Then click option at the bottom right. For “header” select “RAW (header-less) and for “encoding” select “U-Law” again. Then hit “OK” and save your file. Now you should be able to open the RAW file and see how your work came out. See photo of how it should look below:

Displaying Capture4.PNG

Categories
Operating System

Why Macs have taken over College Campuses

If you ever visit a college campus you will notice the plethora of Apple laptops. Apple seems to supply a huge percentage of college students’ laptops, but why?

To start off with, Apple has a brand image that few other companies can match. From my experience in IT many people think that Apple machines “last longer” and “won’t break as easily” when compared to their PC rivals. And from my experience that isn’t necessarily false. Certainly in terms of build quality the average Mac will beat the average PC, but it’s not really a fair comparison. Macs cost far more than the average PC, and this higher build quality is priced-in. That said, even some higher-end PCs have build qualities that seem to degrade over time in a way that Macs don’t. My guess for why this happens is that PCs are constantly trying new things to differentiate themselves from the pack of similarly specced competitors which leads to constant experimentation. Trying new things isn’t bad, but with this throw-everything-at-the-wall mentality there will certainly be a few products that weren’t truly tested and that may have been pushed out to quickly. Apple on the other hand has a handful of laptops which for the most part have been around for years. They have mastered the art of consistently making reliable laptops. It’s that consistency that is really important. In all likelihood every major laptop manufacturer has made a very reliable computer, but very few have the track record that Apple has. It’s this track recorded that makes people trust that their new computer will last all four years.

To add to their reliability Apple also has the upper hand in its physical locations. Every urban area in the U.S. has an Apple store, somewhere to take your device if it’s acting up or check out a new laptop before you buy it. I think this plays a big role in Apples success. Being able to try out a product before buying it is a clear advantage. People get to know what the product will be like in person, which might make them more likely to buy it.  Secondly, knowing that if anything happens to your device there is a physical location where you can bring it can be very reassuring. If you buy an Apple laptop no longer will you have to wait on the phone for 3 hours trying to get ahold of someone helpful.  Just walk into the store and you’ll get the assistance you need.

I am not the only one to notice that stores are a big part of Apple’s success, as Microsoft has been building more and more stores to help compete. They realized that Apple would always have better customer service if they didn’t make there own stores. This has become even more important for Microsoft as they built up there hardware.

Finally one of the biggest reasons in my mind is that people buy Apple laptops, because they have Apple phones. It’s seems logical that one would buy more products from a company if they are satisfied with the one they have. I think this is what is happening with Apple computers. iPhones are incredibly popular with college-aged kids, so naturally they will gravitate towards the laptop manufacturer that makes their phones. Furthermore iPhones and Apple laptops work together in a way that a PC and an iPhone can’t. Apple devices can send iMessages, they integrate with iCloud seamlessly, and they share similar programs which can make picking either one up faster.


Categories
Operating System Software

Datamoshing What it is and How it works

Modern video formats have been designed in such a way as to minimize the storage they take up while maximizing things like resolution and frame rate. To achieve this goal they have developed some clever techniques that can look very cool when they don’t work as they should.

Let’s start with frames. Each frame of a video is like a picture. Most videos very between 24 and 60 frames per second and as you can imagine having 60 pictures for only one second of a video would take up a huge amount of space. So what the developers of modern video formats did was only have full pictures when absolutely necessary. If you think about it a lot of the frames in a video are just a very similar picture with slight differences. So what many formats do is simply tell the old pixels on the screen where to go to make the new picture instead of creating a whole new picture. This process allows for much smaller file sizes for videos as well as allowing datamoshing.

What datamoshing does is it gets rid of the new full picture frames and instead only keeps the frames that tell the pixels where to go. What results is a new video moving based on another videos directions or an image from the same video where the pixels go in directions they’re not suppose to. This process can lead to some very cool and unique glitch effects that have been used to various degrees within different mediums to create an interesting and unique effect.

Here are some examples:

Categories
Operating System

Top Ten Most Useful Keyboard Shortcuts for Mac

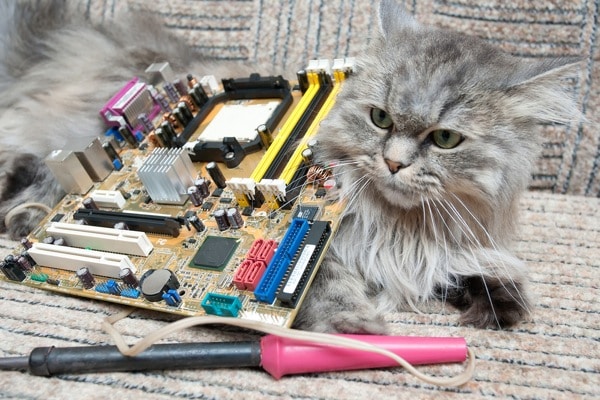
Keyboard shortcuts can be a great way to save small bits of time and to optimize the time you do spend on the computer. In this blog article, I will talk about the top ten most useful keyboard shortcuts for mac. In the spirit of the old OS X naming scheme, the editor is adding cat pictures.

#1 Hide
https://i.pinimg.com/originals/04/e7/6d/04e76d767beabda529ef9977d5d81d79.jpg

Hide completely hides the program you are currently on. It doesn’t minimize it or close it, instead, it is hidden. To use hide just hit Command+H.

#2 Minimize
http://ecdn.funzypics.com/grumpycatmemes/pics/16/Very-Small-Kitty-Cat-In-Some-Human-Hands-----So-Cute-And-Precious---Take-Good-Care-Of-It.jpg

Minimize does what it says. It will minimize whatever program you are currently using. To use minimize hit Command+M.


#3 Spotlight
https://c1.staticflickr.com/9/8363/8342361183_6ecd247d07_b.jpg

Spotlight allows you to instantly open up a search bar to check through all your files and applications, which can be extremely useful when looking for a file or application on the fly. To access spotlight hit Spacebar+Command


#4 Adjust Levels More Precisely
https://static1.squarespace.com/static/530e8d24e4b04fb5b2cdcbf1/t/59c98412edaed8350d8af8e5/1506378778161/Blue-15wks-Proof-up-to-6x4-inch-7120.jpg

When you adjust volume and brightness on your mac you see 16 little rectangles that represent the brightness/volume level. You might think that there are only 16 levels of adjustability, that’s where this shortcut comes in. It allows you to get far more precise with your levels. Just hold down Option+Shift; then use the volume/brightness keys as you usually would.


#5 Switching to Last Used Program
https://heavyeditorial.files.wordpress.com/2015/11/smartcat.jpg?quality=65&strip=all&strip=all

Sometimes when multitasking it is useful to be able to switch between two applications quickly.  To do so hold down Command+Tab.


#6 Switching Between Programs
https://i.pinimg.com/originals/2d/a5/7a/2da57aff23540cc6d2e874a9cba5f575.jpg

Similar to #5 it can often be useful to move between programs that may not have been the last used. To do this hold down Command+Tab again, but keep holding Command down. Then use your arrow keys to move left and right


#7 Force Quit
http://www.drsfostersmith.com/images/categoryimages/highdef/9B-18408-61515C_803-cat.jpg

Sometimes a program will freeze up or stop functioning and oftentimes the best way to fix it is to force quit it and then reopen it. Unfortunately sometimes the program can make it hard or impossible to do on screen, so it’s useful to know the keyboard shortcut. To force quit an application hit Option+Command+Escape. To normally quit a program, hit Command+Q.


#8 Taking a Screenshot
https://www.walldevil.com/wallpapers/a94/cat-camera-wallpaper-funny-images.jpg

Taking a screenshot of your screen can often be very useful if you are having a technical problem as well as generally being a great way to show others things from your perspective. To take a Screenshot hit Command+Shift+3 or to capture only a certain area use Command+Shift+4

#9 Adding Emojis
http://clipart.info/images/ccovers/1496184261Smiling-Cat-Emoji-Png-apple-hd-high-resolution.png

If you ever felt like you needed more emojis this shortcut is for you. It allows you to open up the emoji window on your mac. Hold Command+Ctrl+Spacebar


#10 Open Preferences
http://www.catster.com/wp-content/uploads/2015/06/600px-computer-repair-cat.jpg

Each Application has its own preferences that let you make the application work how you want; to access them quickly hit Command key and the , key at the same time.

Categories
Operating System

My Top 5 Google Chrome Extensions

A Google Chrome extensions are like apps for your phone, except they’re for your browser. Extensions add functionality for specific things. In this article I will go over the top five extensions that I find myself using the most.

Imagus.
https://lh3.googleusercontent.com/YAt89Udgoyfg6qfIhVO-qvqGXSTVr10NcOJHfKuFs8TPLxklZkVMjiVURjFqCzjuZcYDTGX2uKA=w640-h400-e365
Many websites such as Reddit and Twitter make it very hard to see pictures with out clicking on them, this is where Imagus comes in. Imagus is an extension that makes it easier to see pictures that are too small or maybe cropped due to the layout of the website. When you move your cursor over an image Imagus opens it up to full size next to the cursor, which makes it much easier to see. Not only that Imagus lets you keep the image open without keeping your cursor on the image by simply hitting enter. To make it disappear simply hit enter again. Check it out here https://goo.gl/dm1Q4d.

Magic Actions for Youtube.
https://www.mycinema.pro/i/preview_magic_actions.jpg
Magic Actions adds a lot of much-needed features to the already great site, which is Youtube. Magic Action adds the ability to full screen a window within a tab, something that I constantly find myself doing. It also allows Youtube to be turned to dark mode as well allowing users to take quick screenshots of Youtube videos. Check it out here https://goo.gl/jPHA7f.

Grammarly.
https://www.theedublogger.com/files/2015/02/grammarly-1lzblh1.png
Writing can be hard especially when many websites don’t have a built-in grammar and spell checker. This is where Grammarly comes in. Grammarly brings a spell checker to every text box on the internet. Not only that Grammarly can also catch less obvious errors such as a lack of a comma or a misplaced modifier. Check it out here https://goo.gl/kUSVvZ.

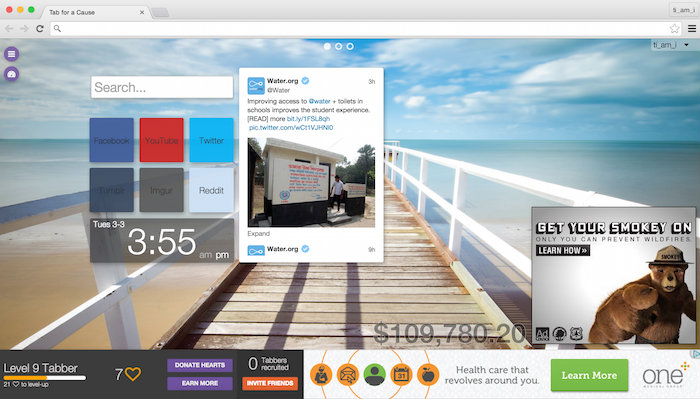
Tab for a Cause.
https://tabforacause-west.s3.amazonaws.com/static-1/img/product-images/sample_page1.0dcb41c8c4a9.jpg
Almost everyone wants to help those in need, but often it can be financially difficult to give money to charity. Tab for a Cause makes it easy to help out. Simply enable the extension and tab for a cause will become the screen that appears every time a new tab opens. On the new screen there is a small ad which is used to generate ad revenue for charity. Every time you open a new tab ad money is generated. If you are like me and constantly open tabs you will be raising a lot of money for charity by simply browsing the web. Check it out here https://goo.gl/sSqhWQ.

goo.gl URL Shortener.
https://lh3.googleusercontent.com/as3S-y6muxSh8gYagkFwjcfFIhA9pmdwmxKHNIvmxmAZWbqL4fSuFwRv-ArHgNUPETMGc2LC-A=w640-h400-e365
Almost every day I copy and paste a URL whether it be to send to someone, put in a document or saving it for later. The problem with standard URLs is they are often long and not very pretty to look at. goo.gl URL Shortner makes it easy to use googles URL shortening website with one click to the icon at the top of Google Chrome. A shortened URL looks like https://goo.gl/B8J7I5 and can be done to any web page. In fact I’ve been using it for every link so far. So check it out here https://goo.gl/DUrXQ.