post

Cladding Chronicles

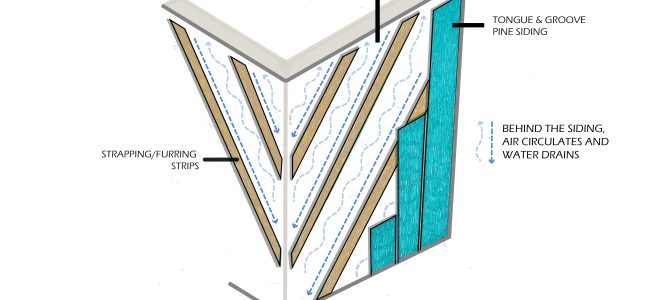
Did we hear that right? Week 8? Time has been flying by, and as we approach the final stretch, our focus is on the last exterior layer of our walls: siding. Our house features two types of siding, both horizontal and vertical, which require different procedures for installation.

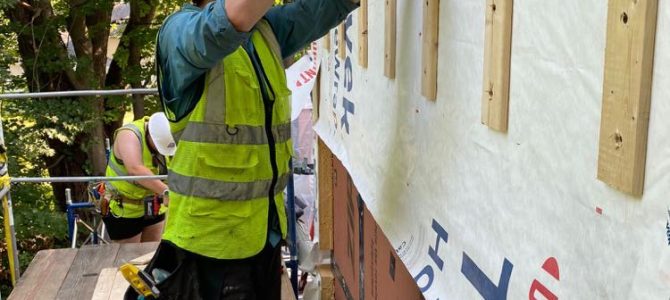
To prepare for siding, we had to ensure that our strapping was ready first. We began the week by fine tuning the strapping by eliminating any waves in the wood strips. This ensures that the siding lays flat once it is nailed to these members. For the main house, this involved using long levels and straight edges to adjust the 8″ strapping attachment screws, ensuring the vertical strapping was as close to a single plane as possible. 

Continue reading
post

Strap in!

Our construction journey encountered an unexpected ‘a snow day in July’—thanks to a rainy Monday, as coined by Professor Fiocchi. However, we hit the ground running on Tuesday to make up for lost time. This week was all about strapping—hidden strips of wood (also known as furring strips) that will soon support the finish siding, transforming our framework into a real house. Simultaneously, our team continued with electrical rough-ins to prepare for an upcoming inspection.

Continue reading
post

The Highs and Lows of Building a House

Up high and down low: Jillian wiring under the building as Amir, Xinyi, and Milou work on corner trim details

Despite a shortened week due to the 4th of July holiday, our team made every movement count. This week, we navigated the complexities of insulation, weather barriers, and electrical layouts.

Returning to the site after the long weekend, we encountered an unfortunate situation. The plastic covering on the barnacle had come loose in the wind and rain, resulting in water infiltration. Water entered not only into the polyiso insulation boards, but also between the foil covered insulation and the water resistant ZIP sheathing. The shady location of the barnacle meant that there was no opportunity for the insulation to dry. We instead addressed this issue by:

  1. Removing the insulation
  2. Letting it dry out in the sun
  3. Taping up screw holes from the initial polyiso install in the ZIP Board
  4. Reattaching the dried insulation
Continue reading