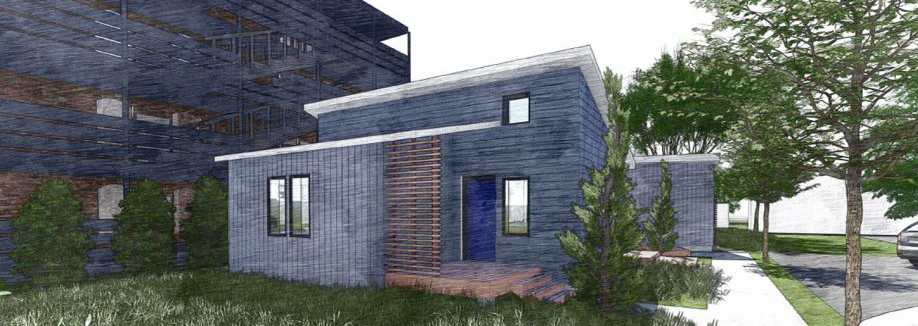
Welcome to the ninth and final week of the summer build! This week was a major push to bring our project as close to completion as possible. Initially planned for an eight week build phase, we found ourselves adding this extra ninth week to compensate for the days lost due to unpredictable weather and holidays off. Despite the extended deadline, our team met this challenge with enthusiasm and dedication.


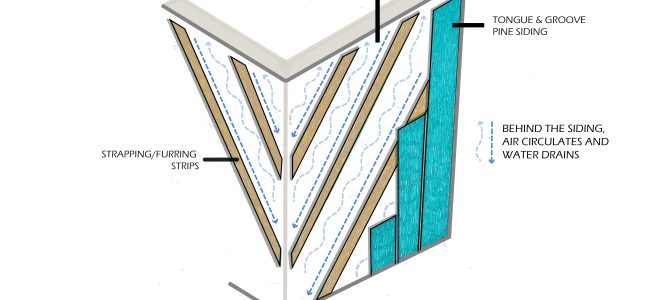
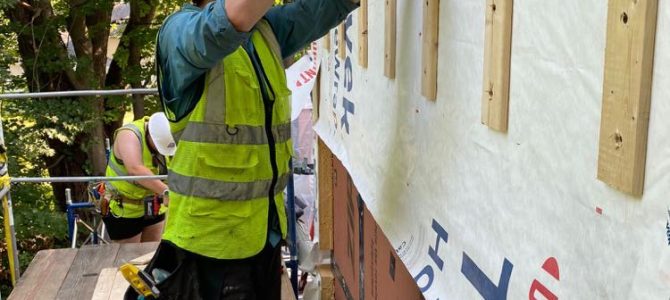
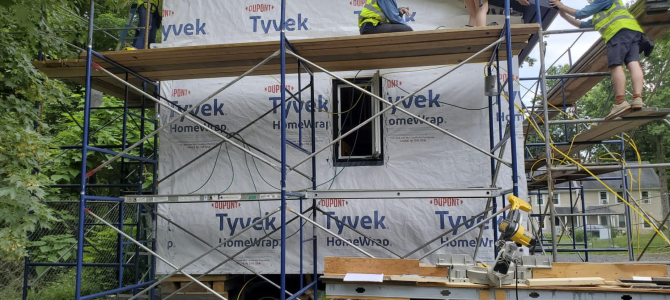
Monday kicked off with a bang, with groups focusing on siding, electrical connections, and various other tasks. Siding progressed similarly to last week, with the installation of the horizontal Hardie Boards on the main house. Each piece was measured, cut, and secured in place using Gecko gauges to keep a uniform reveal throughout. To ensure the utmost security in our modular and transportable build, we’ve continued to adopt a “belt and suspenders” approach, securely fastening the siding boards with both glue and nails. (We cannot wait to bid farewell to the construction adhesive that has left its mark on our clothing and skin throughout this journey!) Meanwhile, inside the house, students attended to details by sealing penetrations made for electrical fixtures with fire block caulking—an essential step in fireproofing the home.

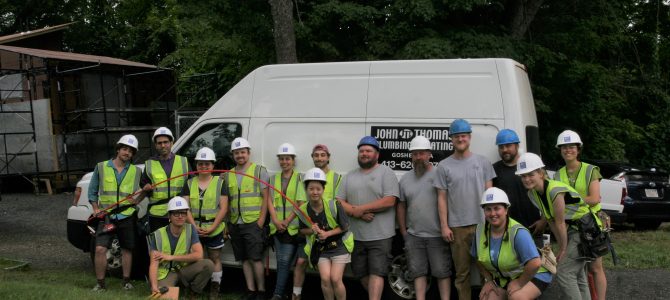
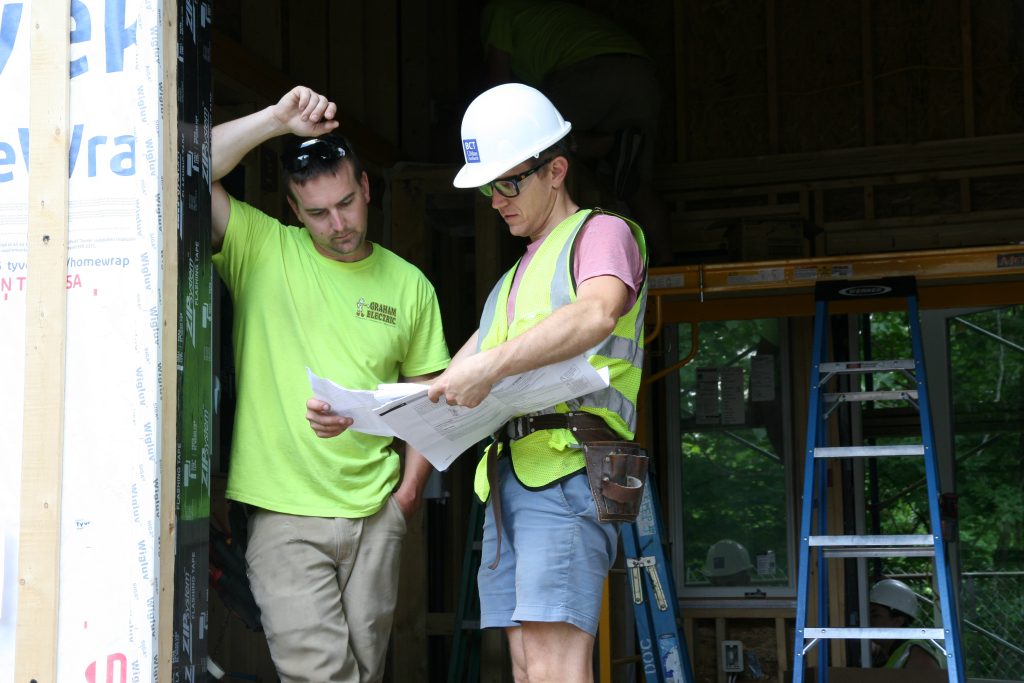
During another visit from Graham Electric, the electricians performed a final check to ensure seamless connections and a clean appearance for inspection. The professionals connected each circuit to the breaker panel, and worked to “make up” all of the boxes. Our wiring primarily utilized 14-2 or 12-2 cables (where a lower gauge signifies thicker wire and higher amperage load). In these cables, the two load-carrying wires are distinguished by white for neutral and black for “hot,” carrying the current from the breaker panel to the powered component. Additionally, there is a bare or uninsulated copper wire for the vital ground connection. As the house is yet to reach its final location, the electricians connected only the neutral and ground wires, while the hot awaits connection to the devices (switches or receptacles) during electrical finish . Our heartfelt gratitude goes to Graham Electric for the help, time, and materials they have contributed to this project! Special thanks to Zack Walters, whose guidance during these past few weeks has been truly invaluable. Plus, thanks to Chris Sliwa, Colby Goodnow, Mike Wall, & Alex V. who made short work of “making up the boxes” for the final step before the rough Electrical Inspection.


On Tuesday, siding continued along with work in the bathroom. We focused on the following tasks to pave the way for tile installation:
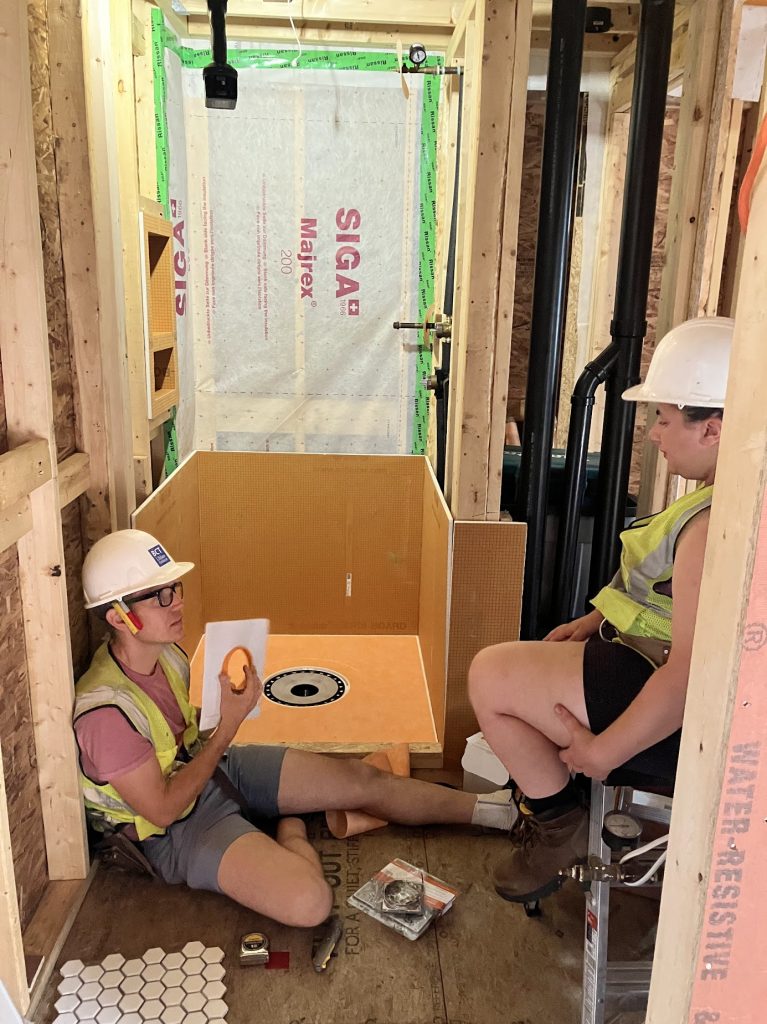
- Filled the bays of the walls surrounding the shower with the hemp batting insulation generously provided by Hempstone
- Next, SIGA Majrex air and vapor control membrane was stapled over the insulation, ensuring a secure seal by taping the seams using SIGA’s Rissan tape.
- The shower will be waterproofed using Schluter Kerdi-Board panels, which build up our walls in the shower and act as the substrate upon which we can install the tiles.
- To prepare for installing tiles on the floor, the Schluter-DITRA-HEAT floor heating membrane was measured and cut. (Big thanks to Schluter for their gracious donation of materials!)

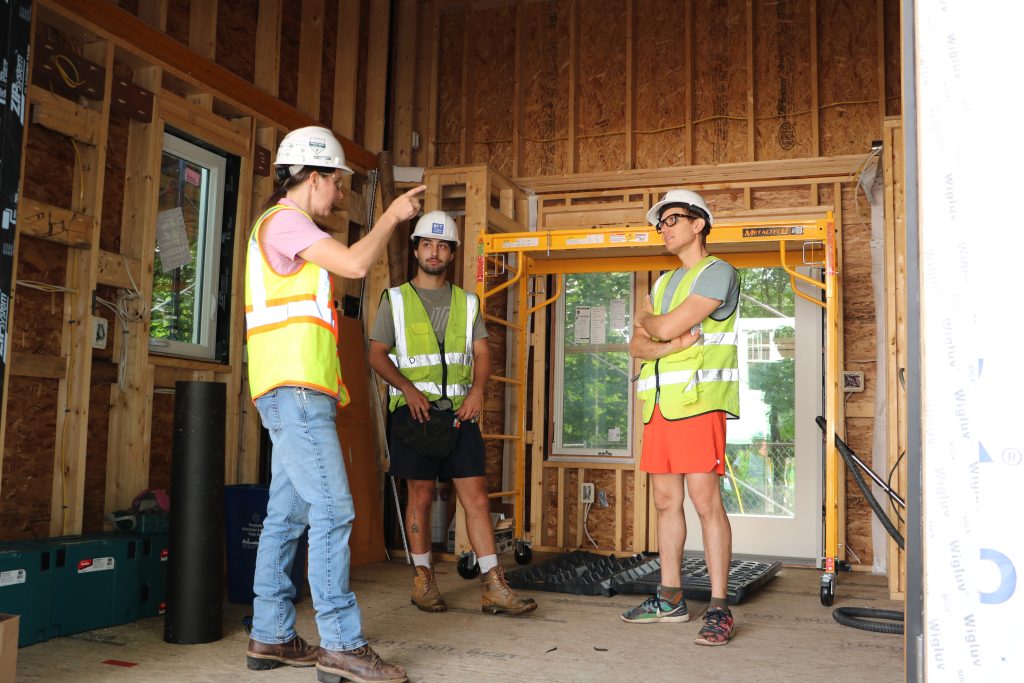
As if on cue, a typical rainy day arrived on Tuesday, welcoming Professor Wolff’s BCT CityLab pre-college course to our active building site. Despite the weather, enthusiasm remained high as Professor Fiocchi delivered a lecture on building science and technology. Undeterred by the downpour, work persisted on siding and preparing for the installation of the grand French door.

Wednesday saw the upper gable ends of the house receiving their siding, requiring precise cutting and angling to fit beneath the overhangs. Smaller strapping pieces were added to ensure sufficient nailing areas and provide a secure hold.
Also on Wednesday, we had the honor of hosting visitors from Daniel O’Connell Construction (DOC) , Christine Jablonski, Johanna Hodge, and Mike Haley. We are enormously grateful to DOC for their significant funding supporting our Site — which has made this project possible. From providing essential tools, ladders and scaffolding, two storage containers, and power tools.Their commitment has been unwavering. We extend our thanks to the team at DOC for helping turn our vision into a reality!


On Thursday, our team put forth a great effort to finish the official last day strong. One of the highlights of the day was the installation of the glass French door, lending a finished look to the south facing wall. Up above, various tasks were underway on the roof in preparation for transporting the house to Holyoke. Here’s what we accomplished to ensure a secure and durable roof structure:
- Remove the temporary screws holding the eave overhangs in place so that the eaves can be lifted when the time comes (a very important detail that was at first forgotten)
- Staple and nail “seatbelts” to the hinged joint where the eaves fold up: This is to ensure that the downward force of unfolding the eaves at the site do not cause them to snap off

- Install drip edge around the perimeter of the roof: A drip edge is necessary to make sure that water flowing off the roof and would not adhere to the fascia and soffit via surface tension and Lateral Cohesive Movement leading to deterioration. Instead, the drip edge directs the water clear of the fascia board to fall to the ground, or into gutters.
- Adhere Ice and Water Shield: finally, we applied strips of heavy asphalt waterproofing membrane which will be under the eventual shingles– these will be attached on site in Holyoke.

Our homework the previous night had been to look into “bad” drip edge corner joints in the hopes of learning what not to do. As with any construction technique, we learned that there are differing opinions on the best approach! We used a combination of Kent’s suggestions and YouTube to create the corner overlaps of the drip edges. We carefully slit the prefab metal drip edge, creating a tab that would fold over the corner and rest beneath the abutting drip edge on the rake side. Working our way from the bottom of the roof to the top we overlapped the drip edge so ensure water runoff would flow over the joints rather than underneath.
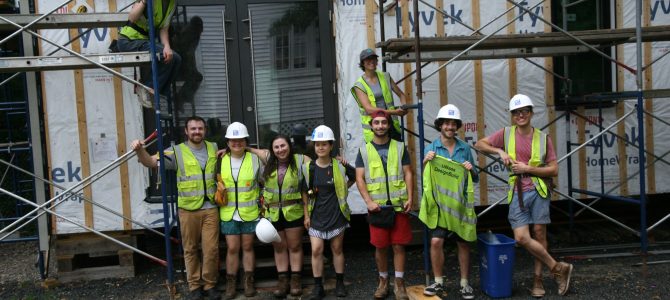
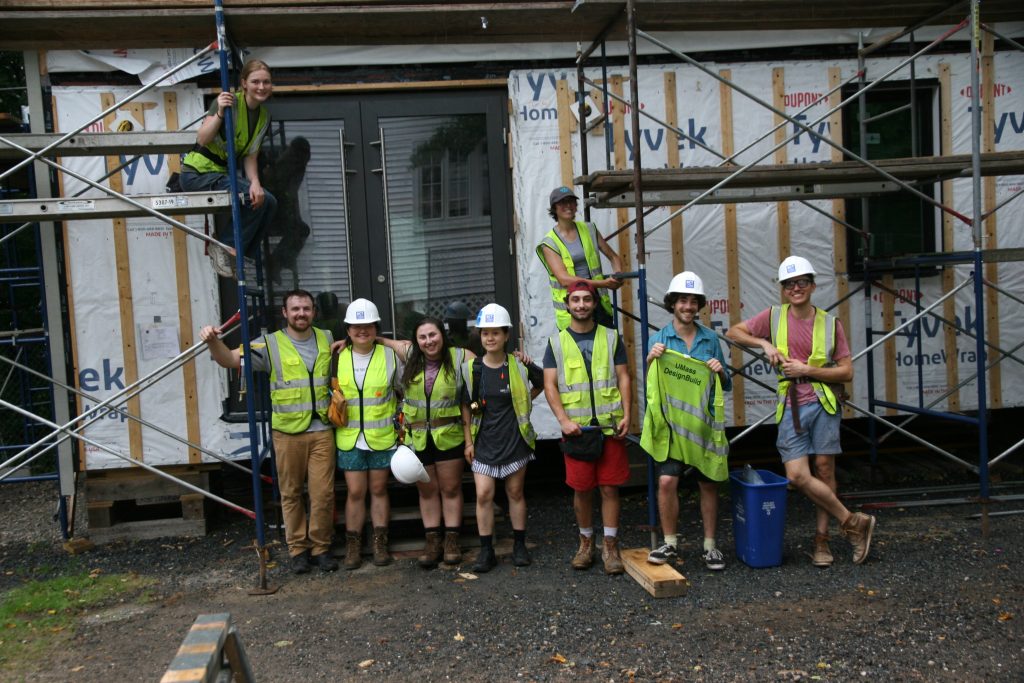
With the drip edge successfully in place, our focus shifted to applying the ice and water shield over the sheathing. This step involved rolling out the rubberized asphalt shield, layer by layer, across the roof. We then peeled back the film on the shield’s underside, revealing the adhesive that bonds the asphalt to the roof. However, this step was halted midway due to– you guessed it– rain! Even on our final official day we cannot catch a break. Even so, the class rallied to collect all our materials, clean up, and batten the hatches for the night, saying a soggy goodbye to those who could not make it the next day. Thank you all for your amazing contribution to the class!


Friday marked the true end of the program as the stragglers banded together to finish odd jobs around the site. Ice and water application was completed, but only after removing the first course to get to those key screws that would have made folding the eaves impossible. Some last touches went into installing all the roof vent baffles, which help to create unobstructed channels for the air to flow in the roof without the insulation getting in the way and clogging these vents. The door jamb for the french door also received some attention, and any random spots on the South wall in need of strapping before siding were addressed. The door was fine- tuned and adjusted to sit perfectly plumb and level in the rough opening; putting some extra time and effort into getting the door right now saves some grief down the line and ensures the door closes tight and the hinges don’t bind. Finally, insulation in the barnacle was completed, with the hemp bats lining each of the framing bays.
The day ended with iced teas and a nice chat with Kent and Carl regarding the course and what we all thought of it. As this is the first year that one cohort saw the project through from design to build there is a lot to talk about! While we all agreed that this was an incredible and enriching experience that added a lot to our education, there are some kinks to work out to make the program even better in the years to come. Finally we reluctantly left the site for the last time, with heartfelt thanks and goodbyes.
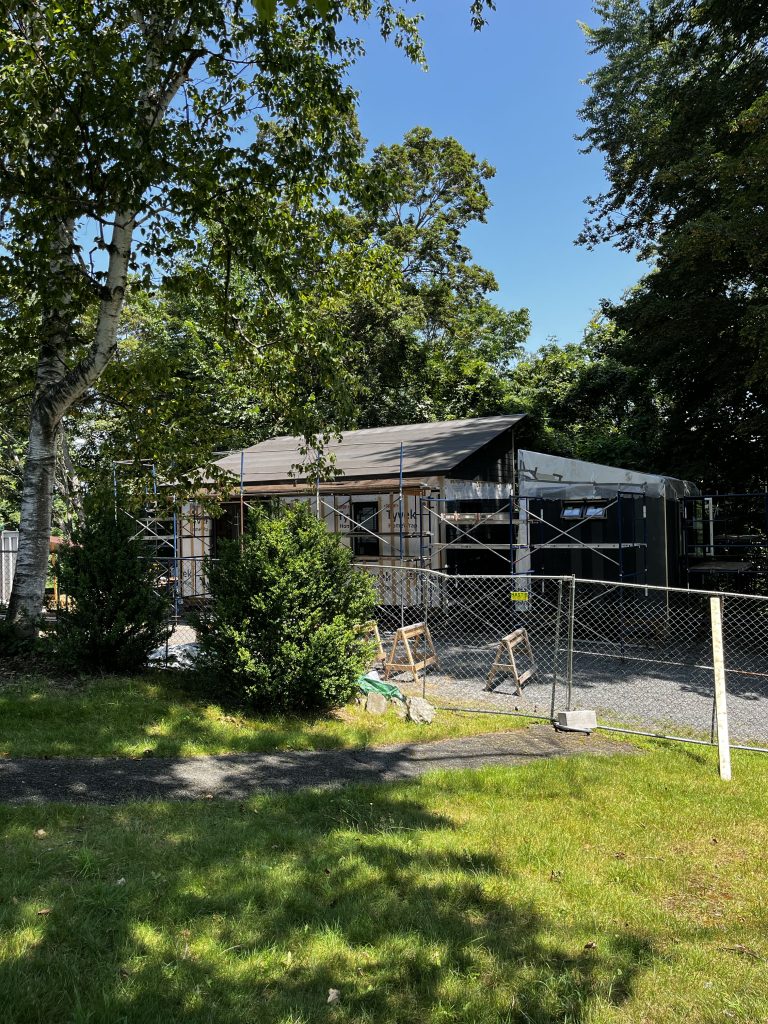
While the formal build phase is over, there is still much to do before we can bring the house to Holyoke. A schedule is set for the month of August, to be worked on by Carl and Kent, with students welcome to join in on a voluntary basis to keep pushing the project forward. Although the students can unwind and soak in the summer this August, the site will not be idle. Next steps include inspection, drywall, insulation, flooring, and more, leading up to the eventual move to Holyoke and some on site final touches. We hope to hold an open house once everything is complete and in place. Thank you for coming along with us on this journey, and stay tuned to witness the next chapter of how we’ll continue this remarkable project!